Steam turbine nozzle repair is a complex process requiring specialized knowledge and tools. Professionals in the field must be highly skilled in order to ensure a safe, efficient repair. In this guide, we will discuss the basics of steam turbine nozzle repair and the steps necessary to complete a successful repair.
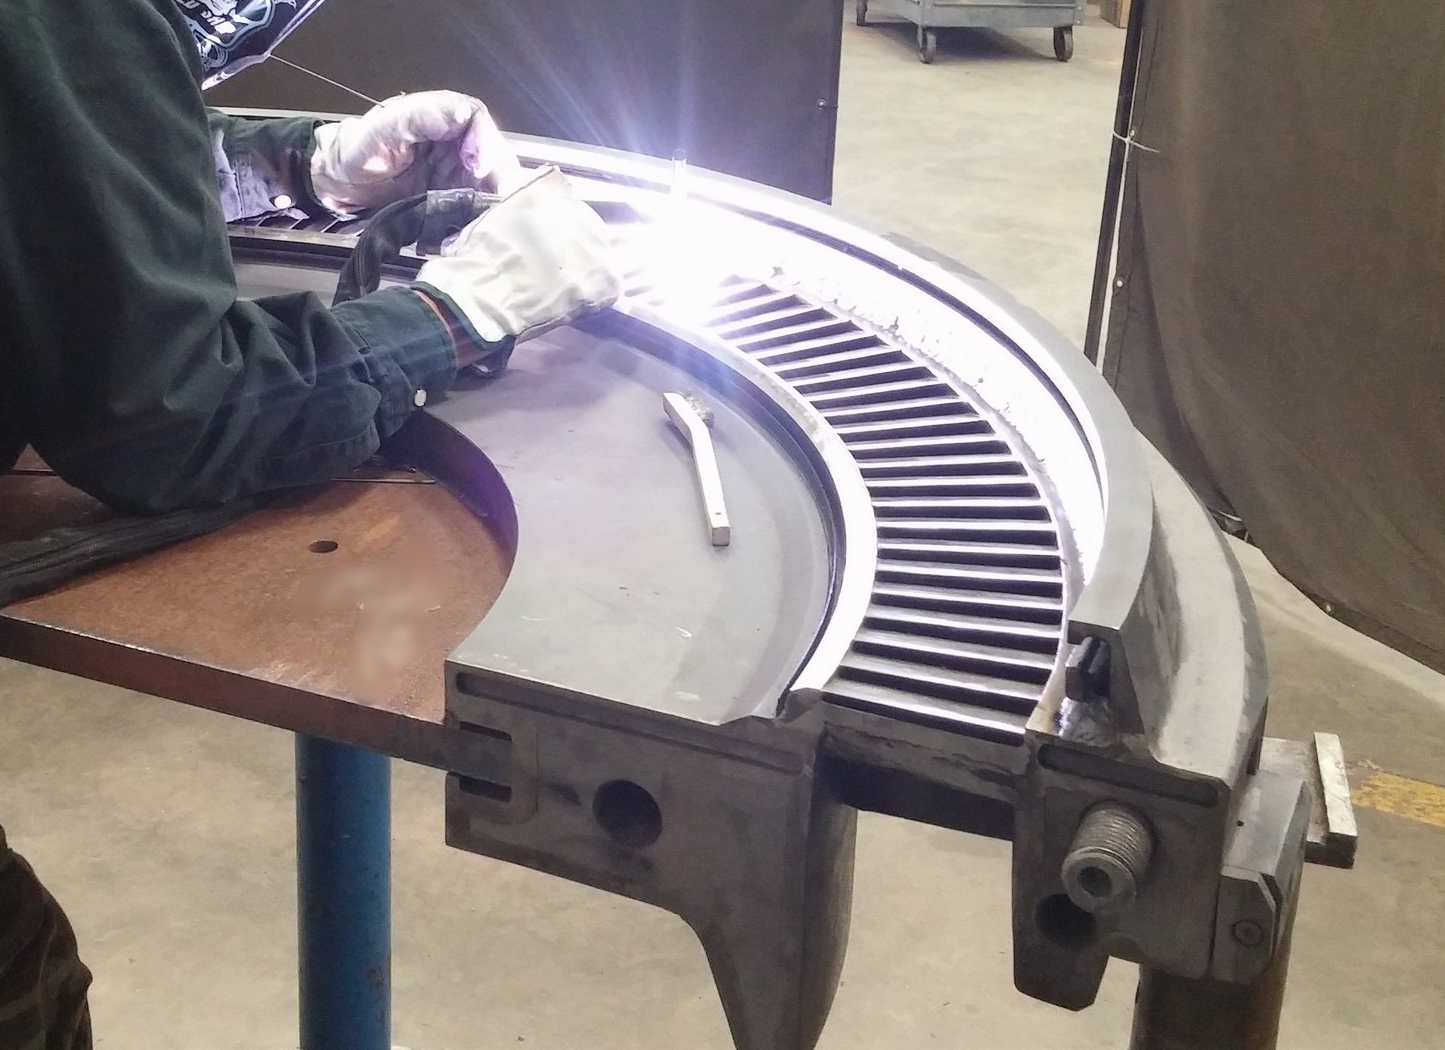
Image Source: Google
The first step in steam turbine nozzle repair is to properly disassemble the turbine. This requires the removal of all components, including nozzle clamps, bolts, and the turbine itself. Once the turbine is disassembled, the nozzle must be examined for any damage or wear. If the nozzle appears to be damaged, it must be replaced. If the nozzle is not damaged, but simply worn, then it can usually be repaired.
The next step is to replace any worn or damaged components. This includes replacing damaged seals, gaskets, and other parts. After this is done, the nozzle must be reassembled and tested for proper operation. If the nozzle is functioning correctly, it can be reattached to the turbine and the entire assembly can be re-tested.
Finally, the turbine must be inspected for any leaks or other problems. This is done by using a pressure gauge or other testing tool to check for pressure loss. If any leaks are found, they must be fixed before the turbine is operational.